With recent firmware update WD integrated a quite useful feature inside MyBookLive called Safepoint. With SafePoint you can create a snapshot of your MyBookLive at a specific point in time on another network attached device. Safepoints are quite useful in case of device failure because you can easily restore your system to a specific time and restore all your data. In this tutorial I will show you how to create your safepoint.
To get started follow steps below:
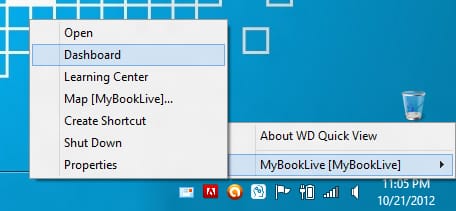
Step 1: In your system tray left mouse click on WD Quick View icon.
Step 2: Hover over My Book Live and then click on Dashboard.
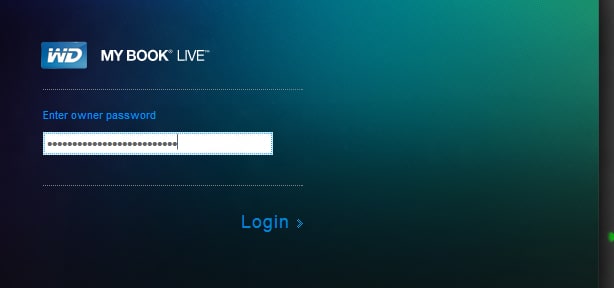
Step 3: A web browser will open, login into your WD MyBookLive.
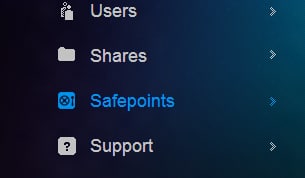
Step 4: In main navigation click Safepoints.
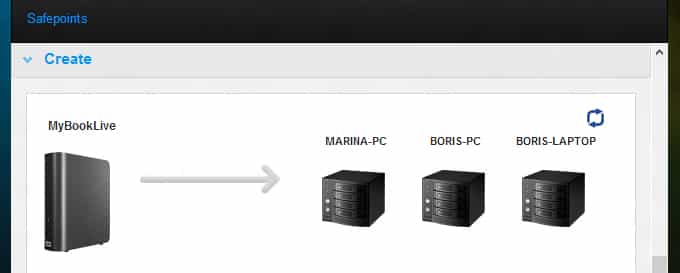
Step 5: Now inside right pane expand Create section.
Step 6: Click blue Discover button and WD will search for new external storage devices connected to your network.
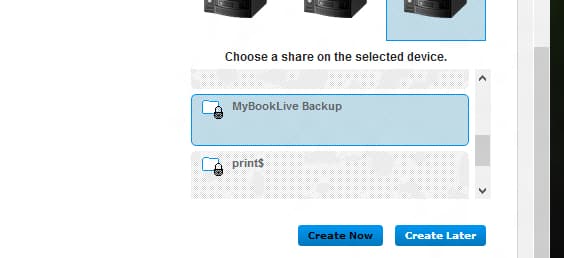
Step 7: Once they are located click on one of them and login if necessary.
Step 8: Choose a location (folder) where you want to create your MyBookLive safepoint and click Create Now button.
Step 9: Type in a name for your safepoint.
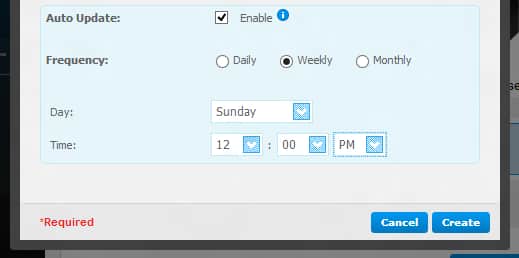
Step 10: Select checkbox in front of Auto Update and then choose whether you want to auto update your safepoint daily, weekly or monthly at what day and time.
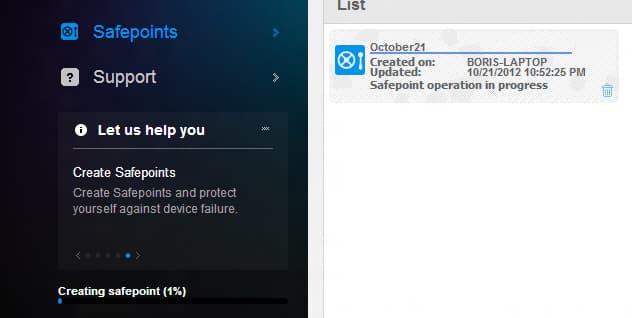
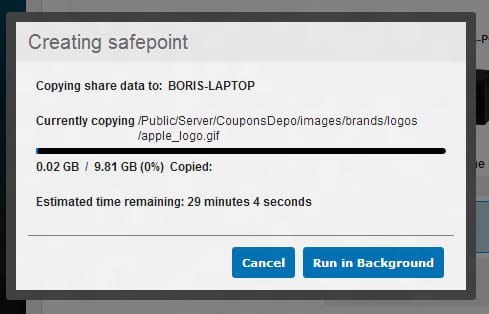
Step 11: From this point entire process is automatic and will be running in the background.
From now on you don’t have to worry about your WD MyBookLive failures because you can easily restore them to previous condition using this safepoint.
[ttjad keyword=”portable-hard-drive”]


![Read more about the article [Tutorial] How to Delete Or Move Apps In iPhone 6S With 3D Touch](https://thetechjournal.com/wp-content/uploads/2016/05/1-5-512x279.png)

![Read more about the article [Tutorial] How To Do Face Swap On Snapchat](https://thetechjournal.com/wp-content/uploads/2016/05/wersm-snapchat-new-lens-swapface-657x360-512x281.png)