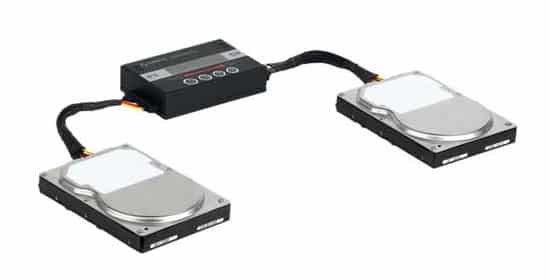
Your main hard drive is running out of space and you need to uninstall some of your software in order to get some additional free space? No need for that! In this tutorial I will show you how you can still use your software on your computer without uninstalling it and also get free extra space on your main hard drive. With the free app for Windows called Steam Mover, you can easily move your software on a second hard drive which has enough disk space, and use them as nothing ever had happened.
Before proceeding to below steps make sure you download Steam Mover from this location. The software is quite small and no installation is required in order to use it.
Step 1: Before moving software on another hard disk, you must know the folder where the software is located. Open the Start menu and click the right mouse button on the shortcut (or locate the icon on your desktop) of the software which you want to move.
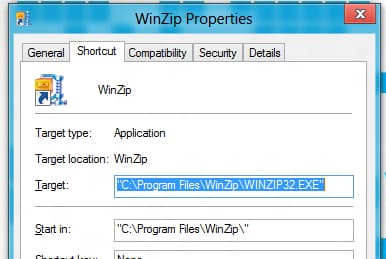
Step 2: From context menu choose Properties.
Step 3: In the window that opens, under the Target field you can see the location of your software which is usually under C:\Program Files\…
Step 4: Run Steam Mover by double clicking on the shortcut which you placed on the desktop.
Step 5: Besides the Steam Apps Common Folder field, click the button …
Step 6: Select the folder of your software and click OK.
Step 7: Then click the … button next to the field Alternative folder.
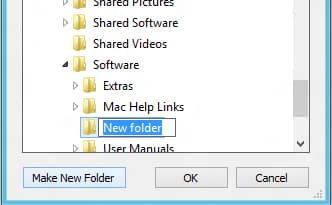
Step 8: Select the second hard disk on which you want to move the software and click the Create a new folder.
Step 9: Name the folder as you wish and click OK.
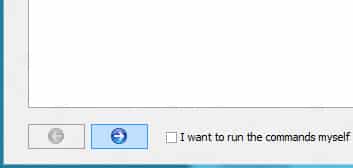
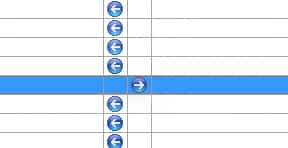
Step 10: From the results list select the software you want to move and click on the blue arrow pointing to the right.
Step 11: Software files are moved to another hard drive and symbolic links are created between the old and new files. Your Windows system “sees” always the old files, but actually point to the new location.
Step 12: Once the operation is complete, the software moved is indicated by an arrow pointing to the right and the name of the new folder in Steam Mover. The disk space used by the software is released from the original hard drive and held on the second hard drive.
Step 13: You now need to verify that your program works correctly. Run your software as usual, through the shortcut on the desktop or in the Start menu and wait untill the software is executed.
Step 14: Now if you face with problem and you software does not start, return to Steam Mover. Select that same software it and click the left arrow to return to its original location.
That’s it. You can now repeat above steps for any other software you want to move to another location or hard drive.
[ttjad keyword=”all-in-one-desktops”]





![Read more about the article [Tutorial] How To Refine Scrolling Of Web Pages In Mozilla Firefox](https://thetechjournal.com/wp-content/uploads/2012/06/restart-ff-addon-512x256.jpg)

![Read more about the article [Tutorial] How To Set Up PDFs and Photos To Open in Windows 8 Desktop Programs](https://thetechjournal.com/wp-content/uploads/2012/11/open-with-as5d98s798s7f54f6s5df-512x258.jpg)