For those users that don’t know DNS servers are used by your internet connection to make the correspondence between a domain name and the corresponding IP address. DNS servers used by Internet service providers are not the fastest. Some services like Google Public DNS or OpenDNS put at your disposal free DNS very swift. You can speed up your Internet browsing using these DNS servers rather than your Internet service provider and in this tutorial I will show you how to do that.
For this purpose we will be using Windows app called Namebench, which can test the speed of your ISP’s DNS servers for Internet access as well as many free public DNS servers from home, even if they belong to another service provider Internet. Before proceeding to below steps make sure you download Namebench from this link and install it on your computer.
Step 1: Once installation/extraction is finished Namebench window will open. Inside field Nameserver you will see a DNS server address currently used by your internet connection.
Step 2: Under Your location drop down menu select your current country.
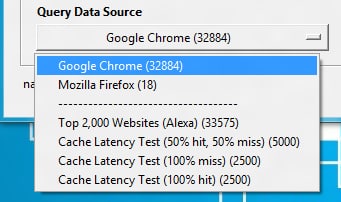
Step 3: Under Query data source drop down menu select a web browser that you use often.
Step 4: Click Start Benchmark button.
Step 5: Test will begin and last between 5 and 10 minutes.
Step 6: A report is displayed in your Web browser, showing you the different DNS servers sorted by speed and data are also presented in the form of graphs.
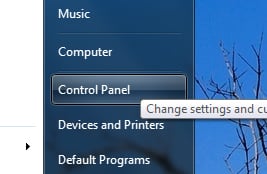
Step 7: Now when we know the address of fastest DNS server we can use, click Start menu and click Control Panel.
Step 8: Click Network and Internet.
Step 9: Click Network and Sharing Center.
Step 10: In the left pane, click Change adapter settings.
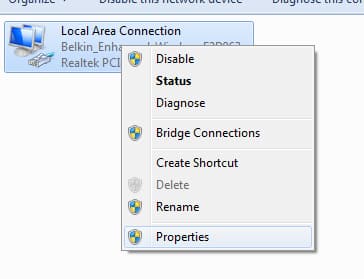
Step 11: Right mouse click on icon for your network connection (this can be a cable or wireless) and from context menu choose Properties.
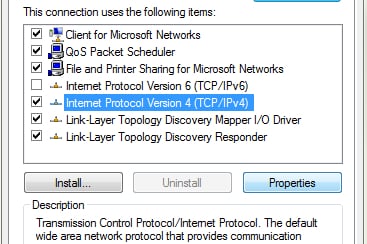
Step 13: Double click on the icon Internet Protocol Version 4 (TCP/IPv4).
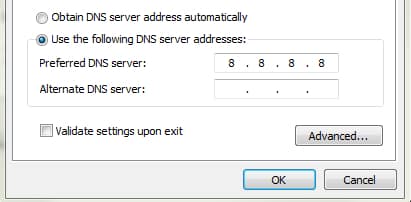
Step 14: Select Use the following DNS server addresses and then enter the DNS address suggested by Namebench app in Step 6.
Step 15: Select the checkbox in front of Validate settings upon exit and click OK to save changes.
You have successfully change your DNS server to fastest available for you internet connection.
[ttjad keyword=”hot”]








![Read more about the article [Tutorial] How To Delete Your Google Location History Of Your Android Phone](https://thetechjournal.com/wp-content/uploads/2014/11/LH_1-512x211.jpg)