If you do not like the way buttons/keys are arranged on your keyboard you can change the key layout by editing the Windows registry. But this procedure is pretty complicated and sometimes a small mistake can cause system crash. In order to greatly simplify this task, you can use a free app for Windows called SharpKeys; in this tutorial I will show you how to do that.
![]()
With SharpKeys you simply select which buttons you want to replace from a list, and the software will then load changes in the registry in a manner completely transparent to you. Of course, if the change that you have made does not satisfy your needs, you can easily cancel the operation and return the previous values.
Before proceeding further, make sure you download and install SharpKeys on your computer.
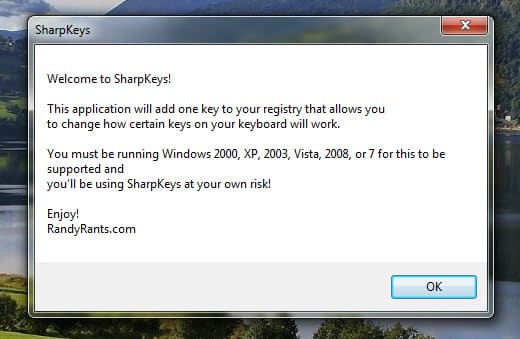
Step 1: Once the SharpKeys app is installed, double-click the app icon from you desktop to start the application; click OK in the welcome screen that shows up.

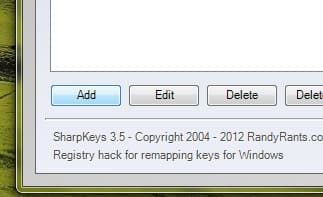
Step 2: Once the application window is open, click the Add button.
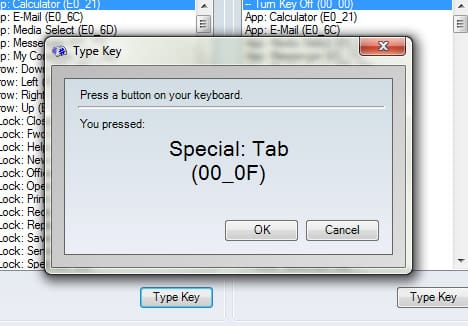
Step 3: Click the Type key button inside left column.
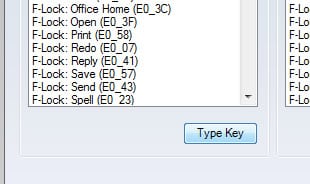
Step 4: Press the key on your keyboard which you want to replace and click OK.
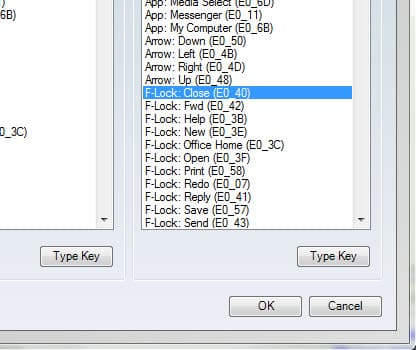
Step 5: Then inside right column select the function/value you want to assign to the key. You can also click on Type key from right pane and then press the appropriate button on your keyboard.
Step 6: Click OK. Repeat above steps and replace other keys you want to change.
Step 7: Finally, click on the Write to Registry button.

Step 8: Click OK and then click Close.
Step 9: Restart your computer to apply the changes.
Step 10: If the replacements you made are not practical, you can easily cancel the operation and return to the original keyboard layout. To do that run SharpKeys again.
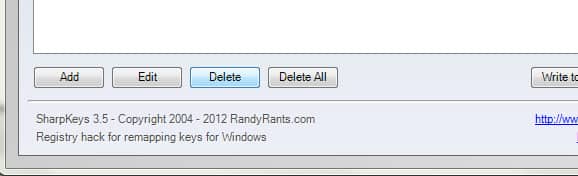
Step 11: From the main window list select the replacements you want to delete and click the Delete button.
Step 12: Click Write to Registry, click OK and then click Close.
[ttjad keyword=”keyboard-mouse”]
![Read more about the article [Tutorial] How To Change A Computer’s Mac Address In Windows](https://thetechjournal.com/wp-content/uploads/2012/02/mac-adress.webp)
![Read more about the article How To Scan QR Codes With Any Smartphone [Android + Apple]](https://thetechjournal.com/wp-content/uploads/2019/01/barcode-cellphone-close-up-278430-512x273.jpg)