No matter if you are blogging for business or pleasure you need to have access to your blog all time and is there better way than from your smartphone or tablet. Thanks to WordPress for Android app you can now easily access to your WordPress.com hosted or self-hosted blog directly from your Android device and in this tutorial I will show you how to setup this app.
When setting up your WordPress blog you have the options to choose from two type of setups: Hosted and Self-hosted. When setting up Hosted blog you are getting free account in WordPress.com and default url address is yoursite.wordpress.com. When it comes to Self-hosted blogs, they have their own domains and hosting server to run the blog.
Before proceeding to below steps make sure you download WordPress for Android app from this link and install it on your device.
Setting up Self-hosted blog
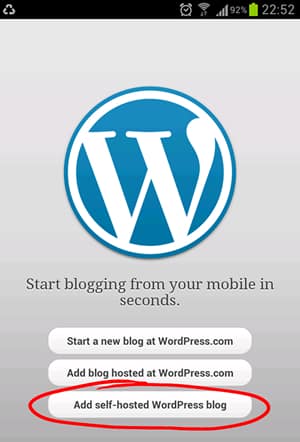
Step 1: Lunch the WordPress for Android app on your device and tap on Add self-hosted WordPress blog.
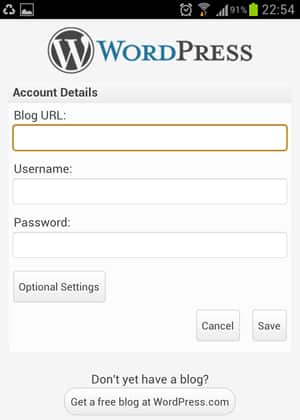
Step 2: Now type in your blog url address, username and password.
Step 3: Click Save button and you will be taken to your WordPress Dashboard.
Setting up Hosted blog
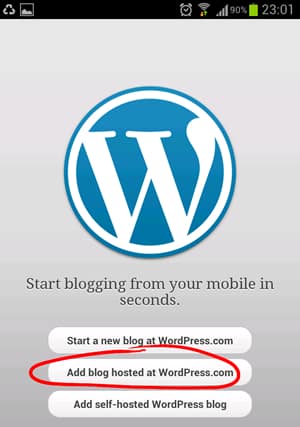
Step 1: Lunch the WordPress for Android app on your device and tap on Add blog hosted at WordPress.com.
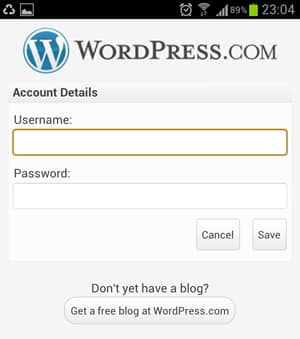
Step 2: Now simply type your username and password.
Step 3: Tap on Save button and you will login into your WordPress.com blog account.
Step 4: If you have multiple blogs within your account a pop-up window will appear offering you to choose which blog you want to add to your app.
Step 5: Check all the blogs you want to use from your Android app and then tap on Add Selected.
[ttjad keyword=”android-device”]


![Read more about the article [Tutorial] How To Record Music From Any Streaming Site](https://thetechjournal.com/wp-content/uploads/2013/01/music-stream-record-ttj-logo.jpg)
![Read more about the article [Tips] How To Make Your Smartphones And Tablets Last Longer](https://thetechjournal.com/wp-content/uploads/2012/11/lifetime-of-devices-ttj-logo-512x246.jpg)