If you are writing tutorials for Android phone, like those you can find at TheTechJournal, you probably want to take few screen captures of your Android phone pane and explain some steps user need to perform. In this tutorial I will show you how to take screenshots of your Android phone under Windows 7 and using Android SDK.
To get started follow steps below
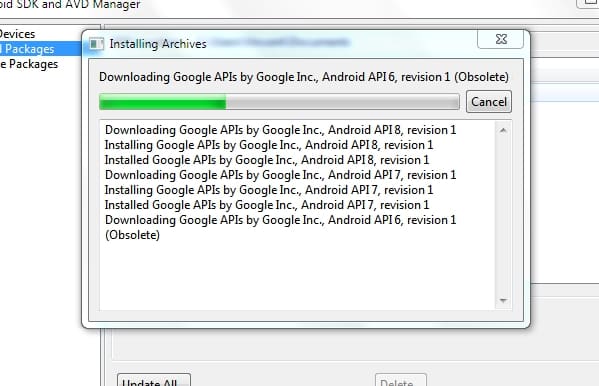
Step 1: Download Android SDK for free, extract everything and run setup.exe SDK. Then install all the packages offered by the software.
Step 2: Next connect your Android phone with Windows computer using USB cable and enable USB debugging. To do so, select the check box in Applications -> Development.
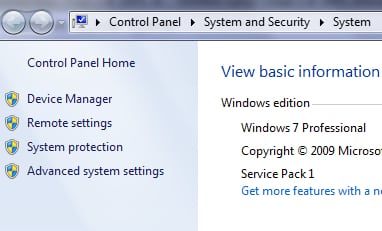
Step 3: Next click Start menu and right mouse click on Computer
Step 4: From context menu choose Properties. When new window appears, from left side click on Device Manager
Step 5: Now Look for the ADB device in the list (it should be under Other Devices). Then make a right click on ADB, and from context menu select Update Driver.
Step 6: Then locate the SDK usb_driver folder, which should be on the location where you installed Android SDK
Step 7: Then run the ddms.bat file located in the tools directory and your phone should appear in the menu at the top left.
Step 8: Then press the CTRL and S on your keyboard to take a screenshot of your phone! Open any image editor application and press CTRL and V on your keyboard and your Android screen capture will appear
You are done! Now you know how to make screenshots of your Android phone. If you are using a different way to achieve this leave your suggestion in comment section below.
[ttjad keyword=”android-phone”]


![Read more about the article Uninstall / Remove Google Chrome Web Store Apps, Games or Extensions[How To]](https://thetechjournal.com/wp-content/uploads/2010/12/google_chrome_logojpg.jpg)
![Read more about the article [Tutorial] How To Publish Blog Posts Directly From Microsoft Word 2007/2010](https://thetechjournal.com/wp-content/uploads/2012/02/word-blogging-sample.jpg)
![Read more about the article Convert and Watch Movies on Samsung Galaxy Tab[How To]](https://thetechjournal.com/wp-content/uploads/2011/02/Galaxy-Tab.png)