This instruction will guide you to Jailbreak your iPhone 4 or iPhone 3GS on iOS 5.0 and keeping your lower Baseband so you could Unlock your iPhone. Its a complete guide with screenshots.

This is so far the only process to safely update your iPhone 3GS or 4 in 5.0 without updating baseband, and jailbreak it. Then you could unlock using UltraSn0w or Gevey SIM card. Please note this jailbreak is tethered for every device but the old bootrom iPhone 3GS which means you will need to connect your device to the computer each time you reboot. Also, it may be prudent to save your SHSH Blobs by following this tutorial before continuing if you haven’t already.
Step One
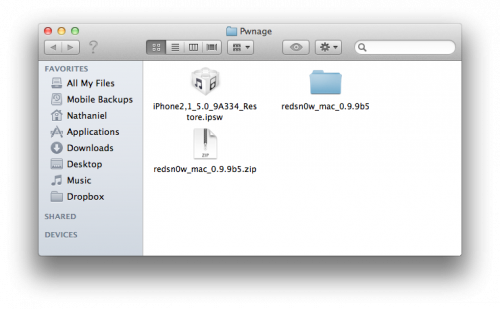
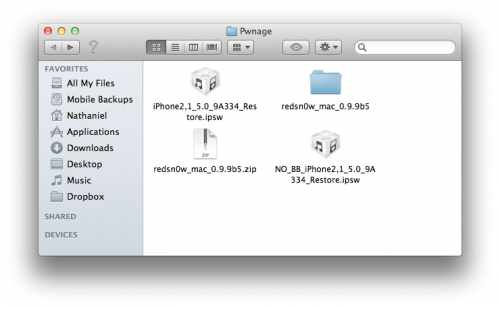
Create a folder on your desktop called Pwnage
Download RedSn0w 0.9.9b5 from here and place it in the Pwnage folder. Likewise, download the 5.0 firmware from here and place it in the Pwnage folder.
Extract the RedSn0w zip file by double clicking it.
Step Two
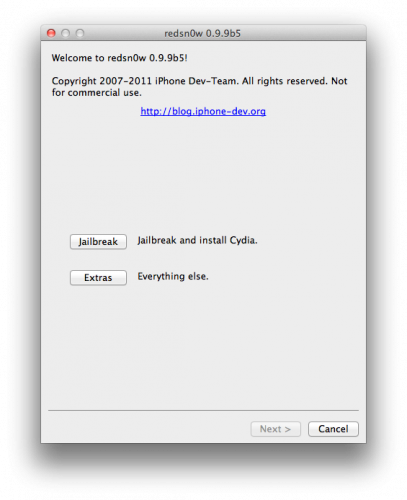
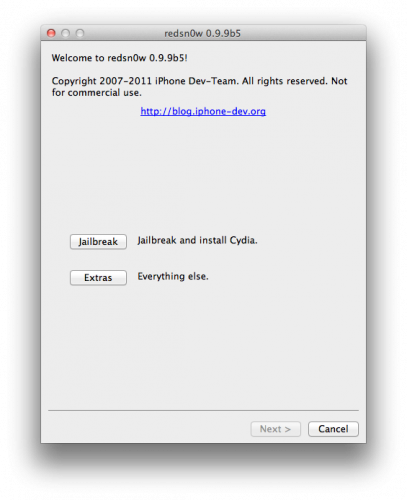
Launch the redsn0w application from the redsn0w folder we just extracted.

Step Three
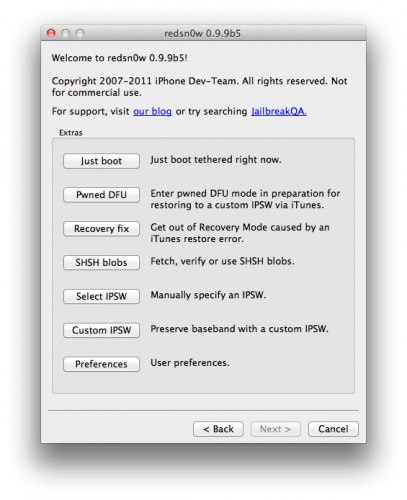
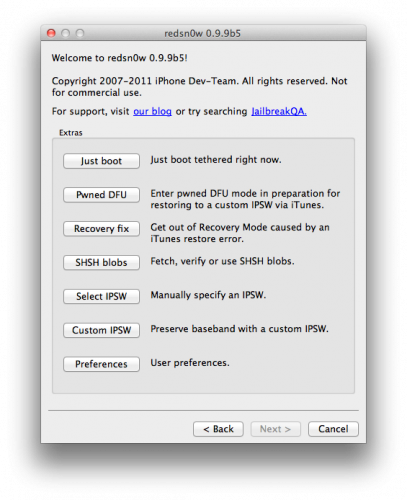
Click to select Extras from the main menu.
Step Four
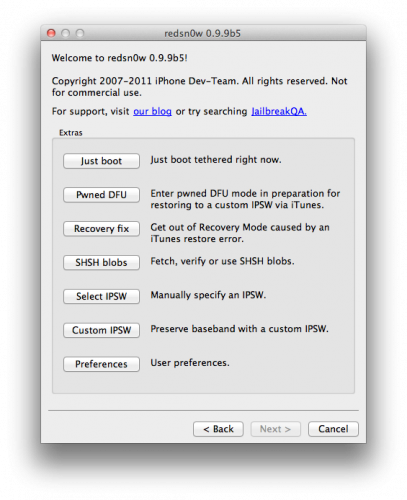
Click to select Custom IPSW from the Extras menu.
Step Five
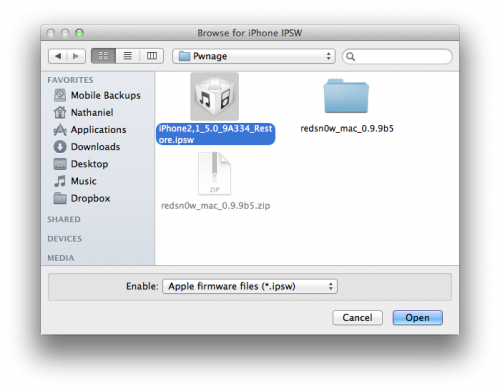
Navigate to the Pwnage folder on your desktop and select the iOS 5 IPSW we downloaded then click Open.
Step Six
RedSn0w will now begin building a custom IPSW for you.
Step Seven
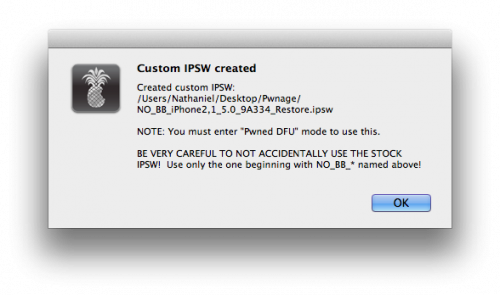
You’ll be notified once RedSn0w has completed building your IPSW. Click the OK button.
Step Eight
Click the Pwned DFU button from the Extras menu.
Step Nine
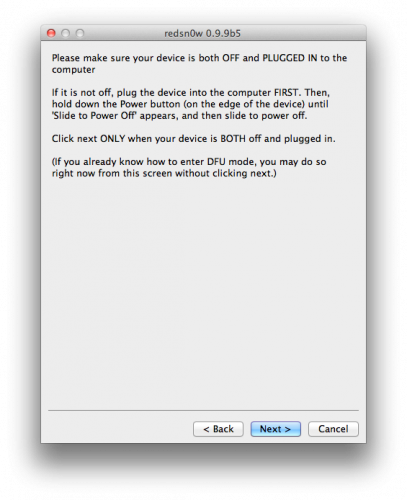
Plug your iPhone into the computer and make sure its OFF then click the Next button
Step Ten
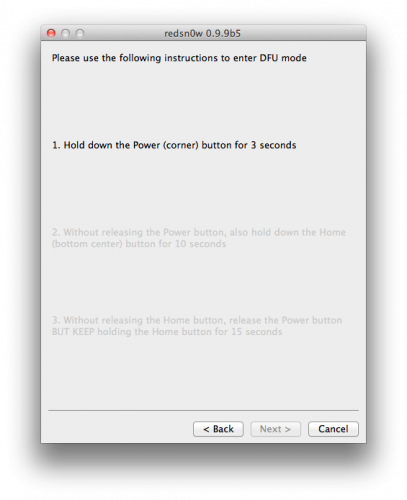
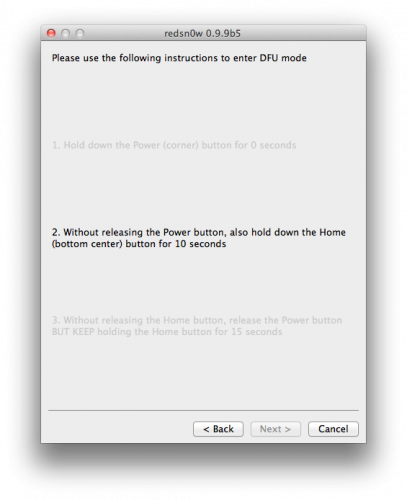
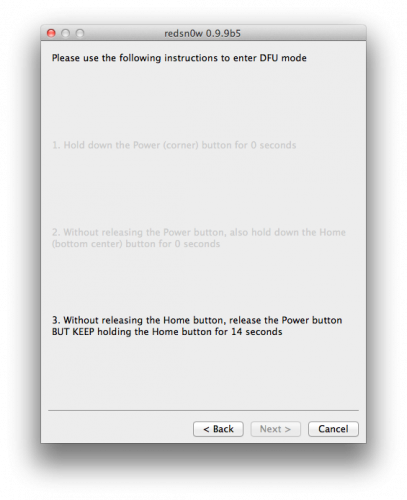
RedSn0w will now guide you through the steps to get into DFU mode.
Hold down both the Home button and the Power button for 10 seconds.
Release the Power button and continue holding the Home button until RedSn0w detects the device.
Step Eleven
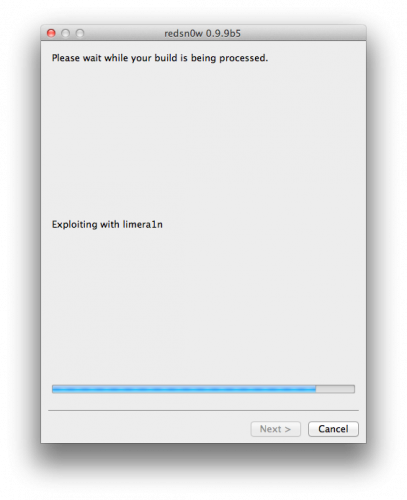
RedSn0w will run the LimeRa1n exploit.
Step Twelve
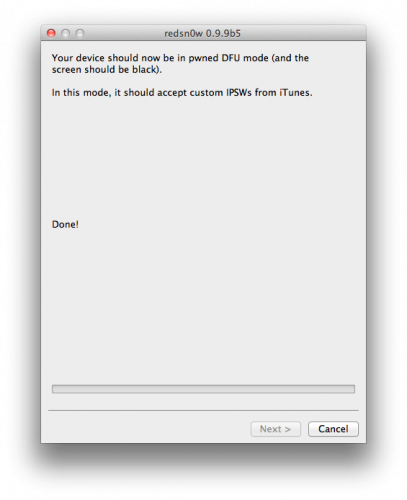
You’ll then be notified that your iPhone is in Pwned DFU mode.
Step Thirteen
Launch iTunes by clicking its icon in your dock.
Step Fourteen
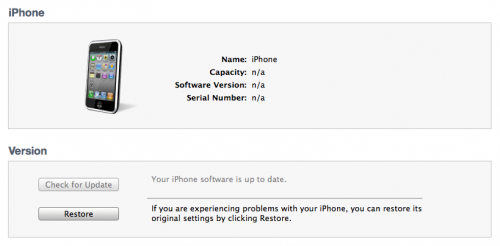
Select your device from the list on the left then under the Summary tab hold down the Option key and click the Restore button.
Step Fifteen
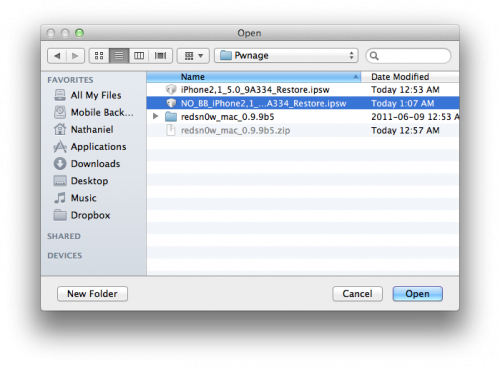
You will then be asked to select your IPSW for restore. Navigate to the Pwnage folder on your desktop and select the IPSW that begins with NO_BB then click the Open button.
Step Sixteen
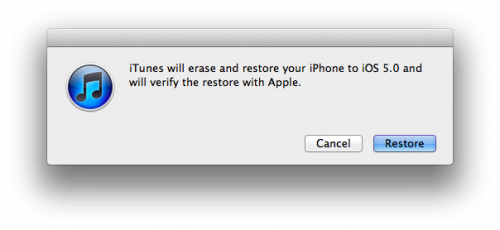
iTunes will now restore and jailbreak your device using the Custom IPSW.
BOOT TETHERED
Once you have jailbroken you will need to rerun redsn0w to boot tethered.
Step One
From the main RedSn0w menu click the Extras button.
Step Two
Select Just boot from the Extras menu to just boot tethered.
After the Jailbreak, use UltraSn0w to unlock from here or get the Gevey SIM for iPhone 4 to unlock from here
All credit goes to iClarified, Thanks Guys for putting everything together. Also @MuscleNerd & his iPhone Dev Team for making Jailbreak possible and hard work.





Pingback: Semi-Tethered Jailbreak for iOS 5.0 Device is Available Now | TheTechJournal.com
Will this work on new iPhone 3Gs with Toshiba Baseband chip???????